Electronic Classroom Basics

The University of Guelph-Humber classrooms are equipped with electronic presentation equipment, including a data projector, computer, audio system, Blu Ray or VHS/DVD player, and inputs for laptop, document camera, or other external playback devices.


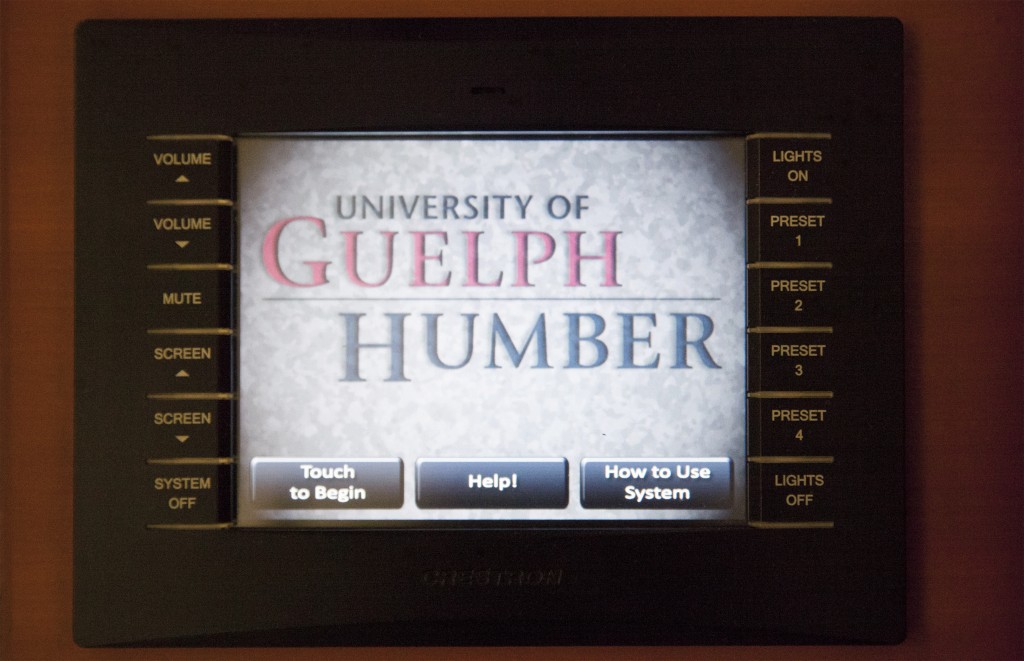
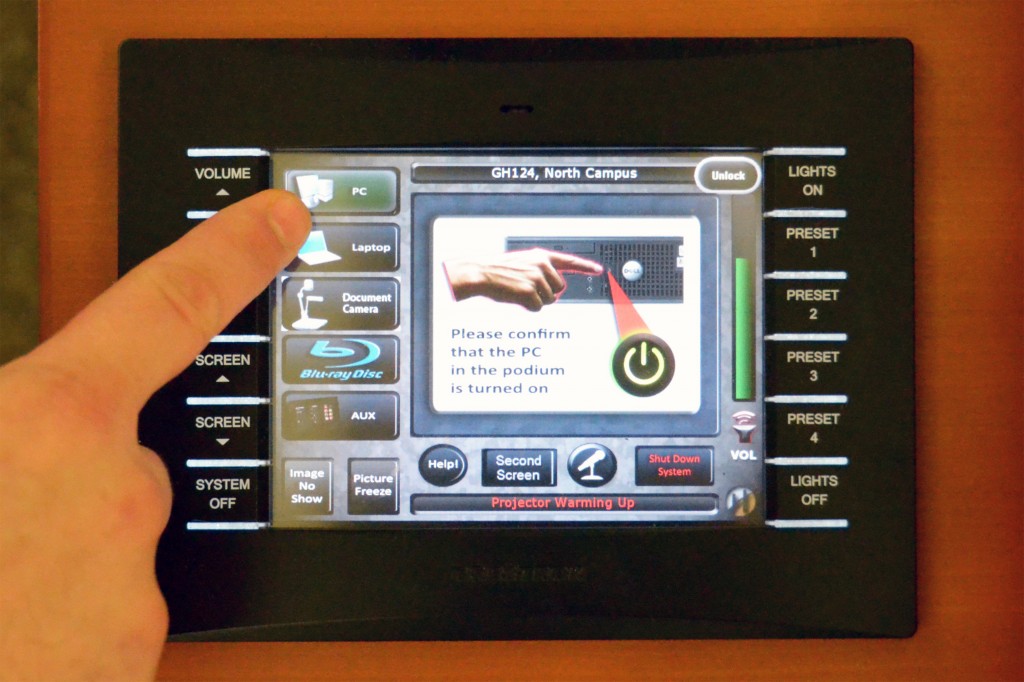
To activate the A/V system, go to the touch panel located at the podium. If the touch panel is blank, simply press the screen to wake it up. Click on the icon labeled ‘Touch to Begin,’ then enter the PIN number to open the system.
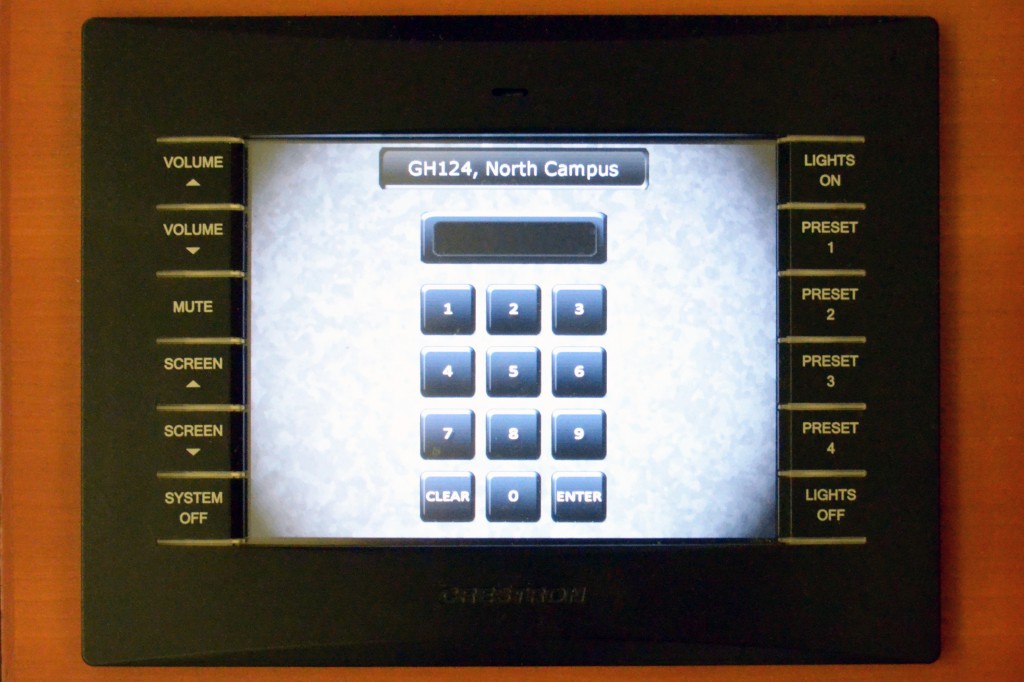
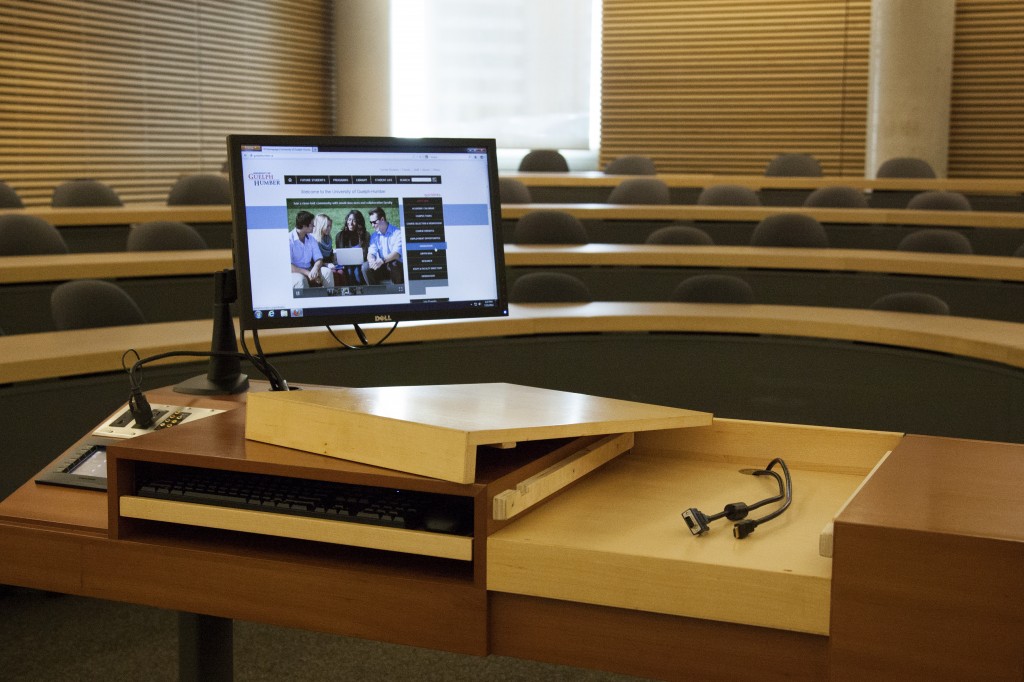
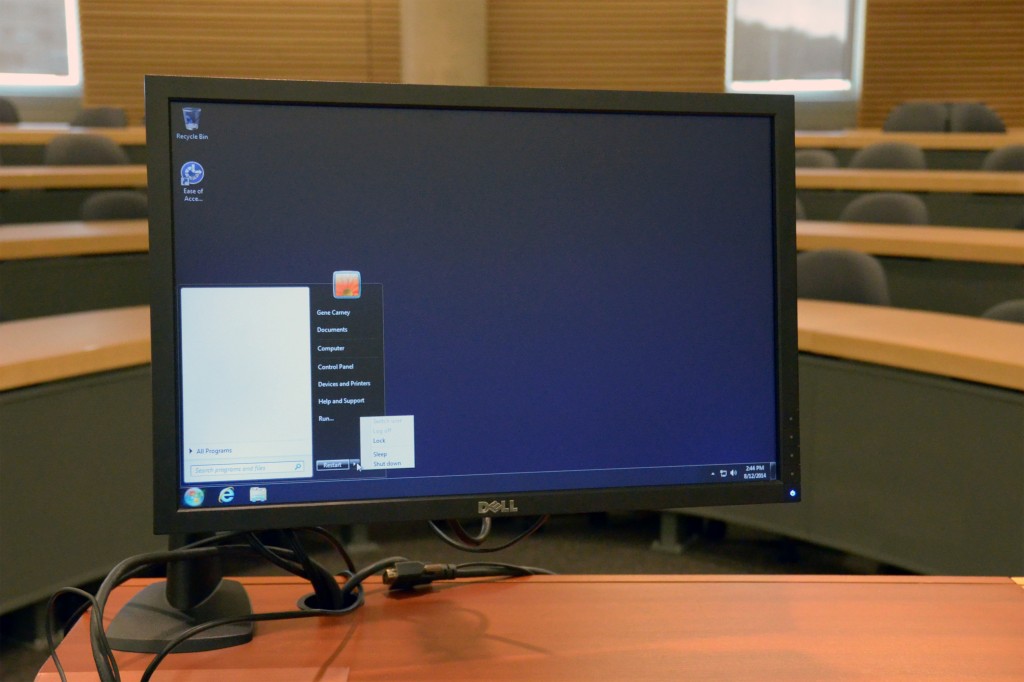
Once you’ve entered the PIN, you will be presented with our main menu screen and the podium monitor will display the computer image.
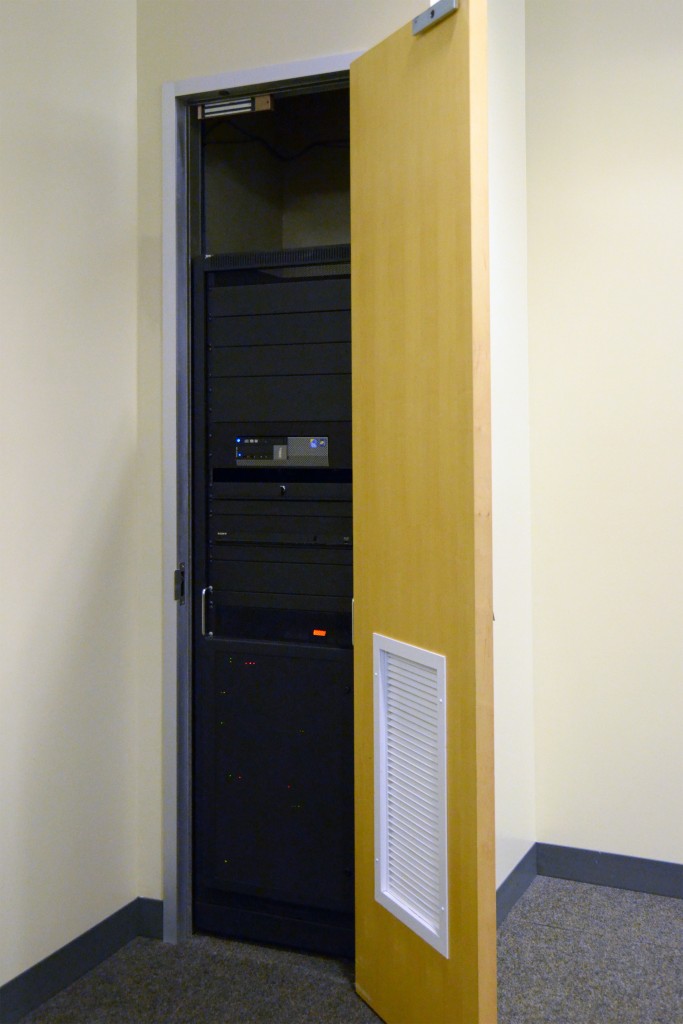
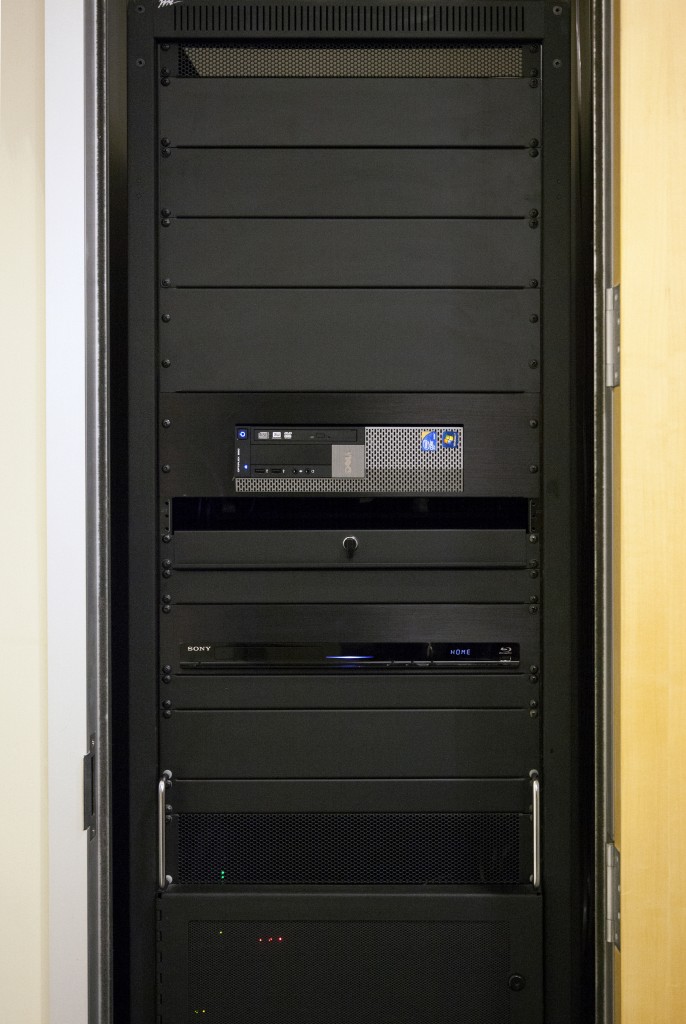
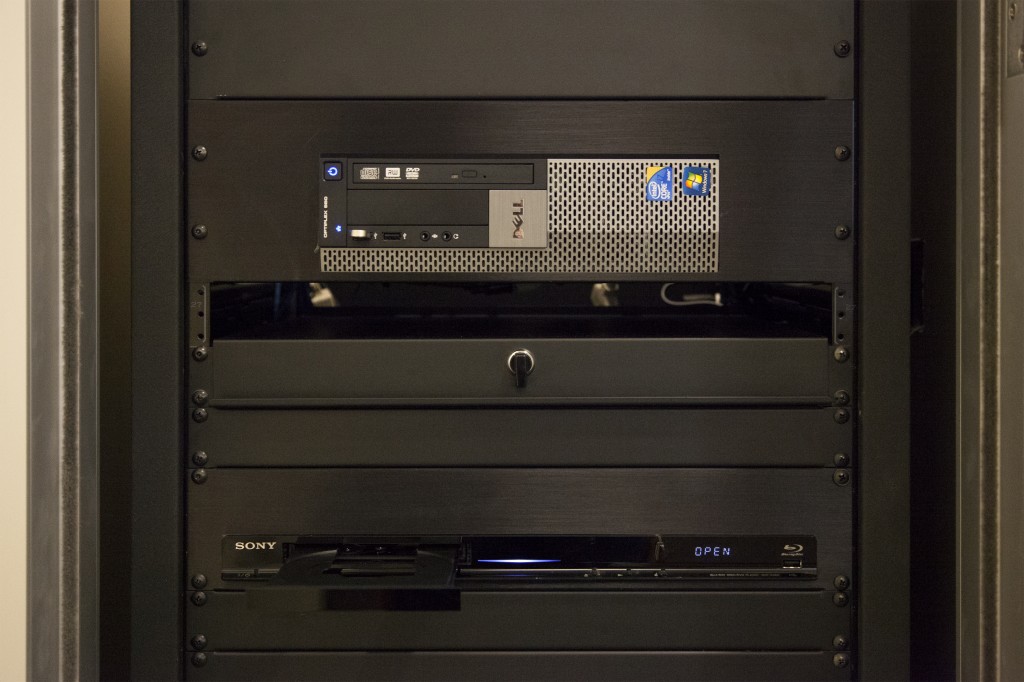
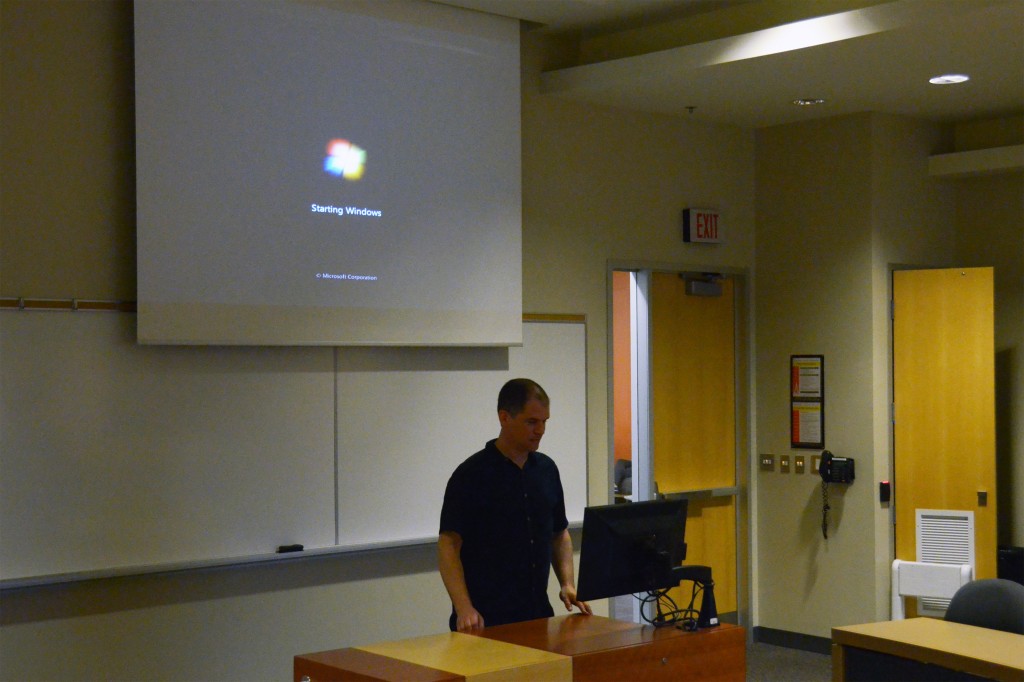
The computer (and Blu Ray or VHS/DVD player) is located either in the A/V closet at the side of the room, or inside the podium cupboard (in some of our 4th floor rooms). Be sure to turn on your source device (PC, Blu Ray) here, on the device, and if you have a USB stick or disc with your presentation on it, insert it into the device in the A/V closet.
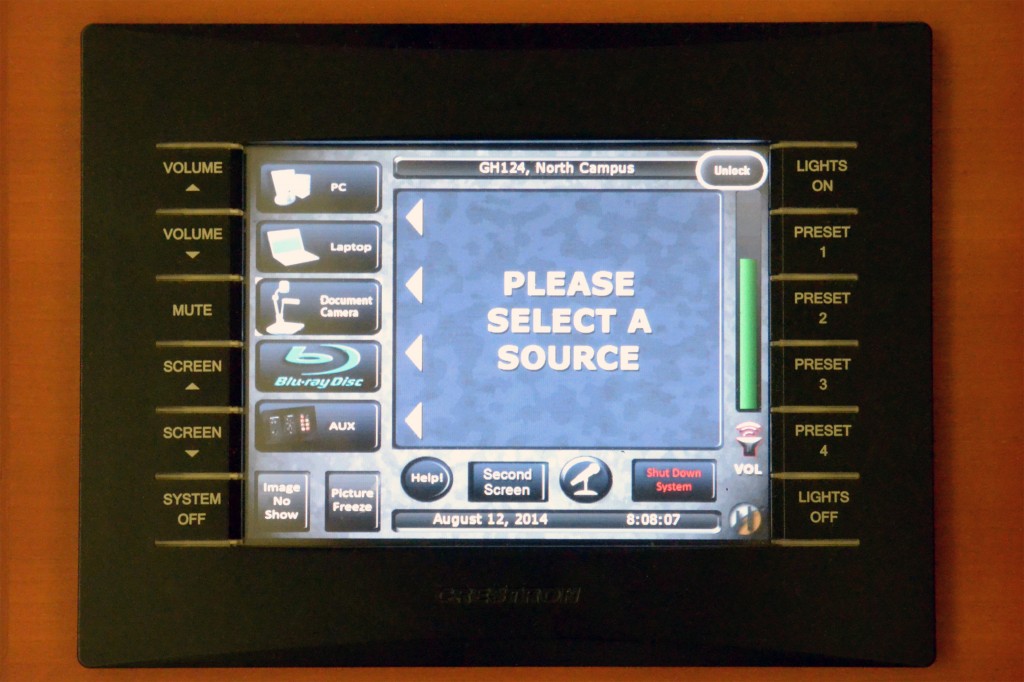
The A/V system won’t turn on completely until you select a source at the main menu on the touch panel. When you touch a source icon (for PC, Laptop, Blu Ray, Doc Cam, AUX, etc.), the projector will turn on, the projection screen descends, and the lights change to a preset. It will take 30 seconds in most cases for the projector to warm up.
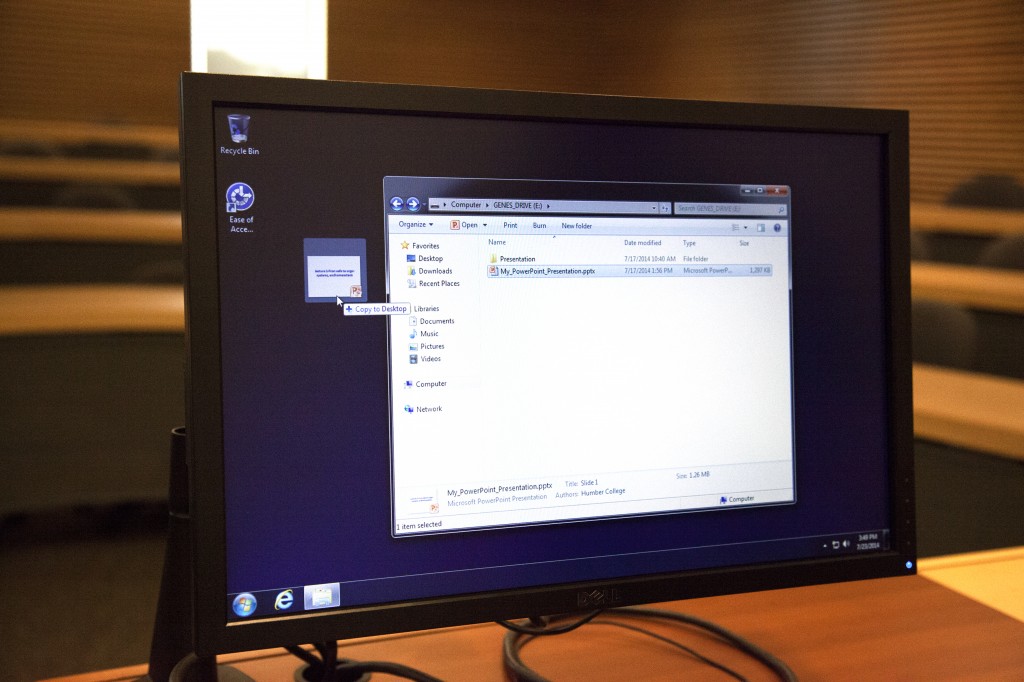
It’s recommended that you drag and drop your presentation onto the desktop of the computer. That way, you can retrieve your USB stick or disc right away and remove any chance of forgetting it after class when you may be rushed by students asking questions or by the following class waiting to use the room. The computer reverts to its original image when logged off, so any data you load onto it will be erased when restarted.
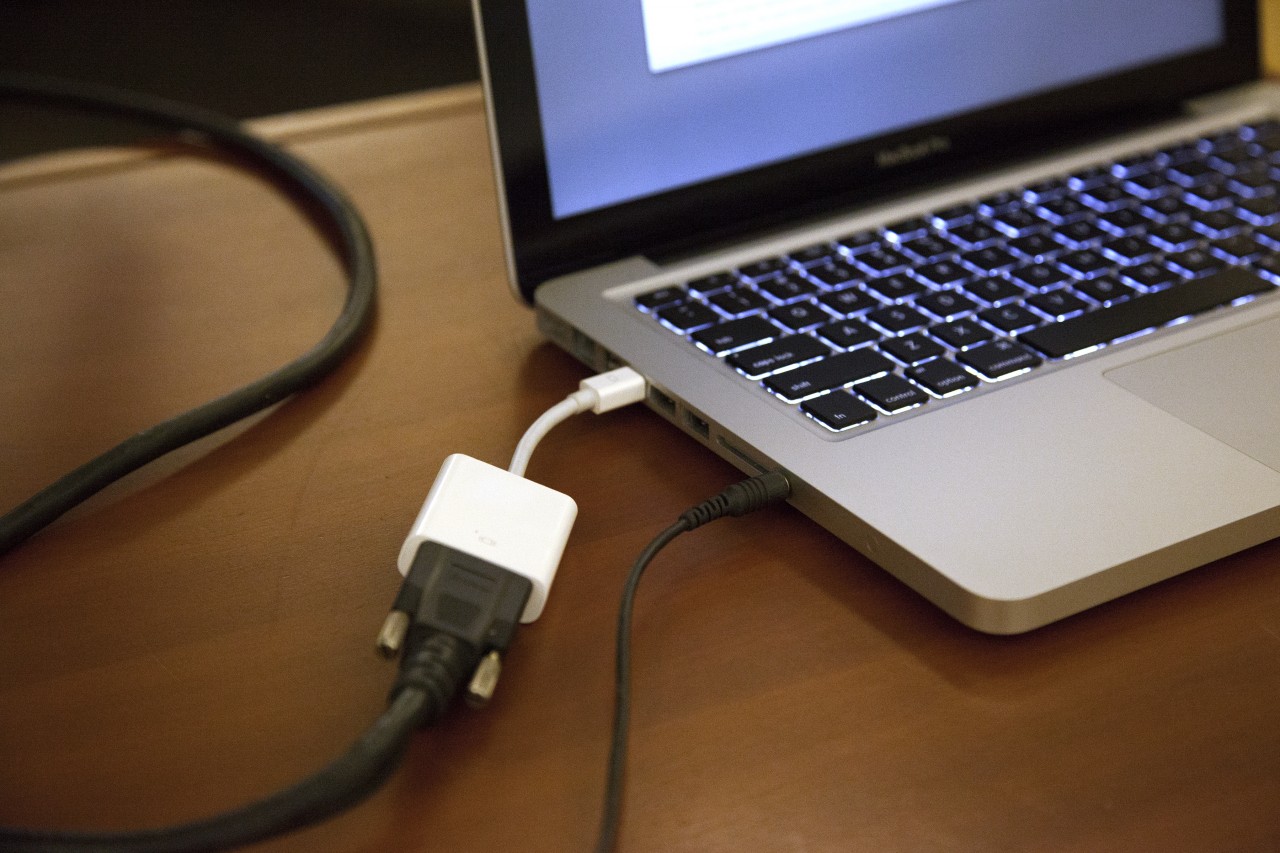
If you use a laptop, connect it to the VGA cable coming out of the podium top.

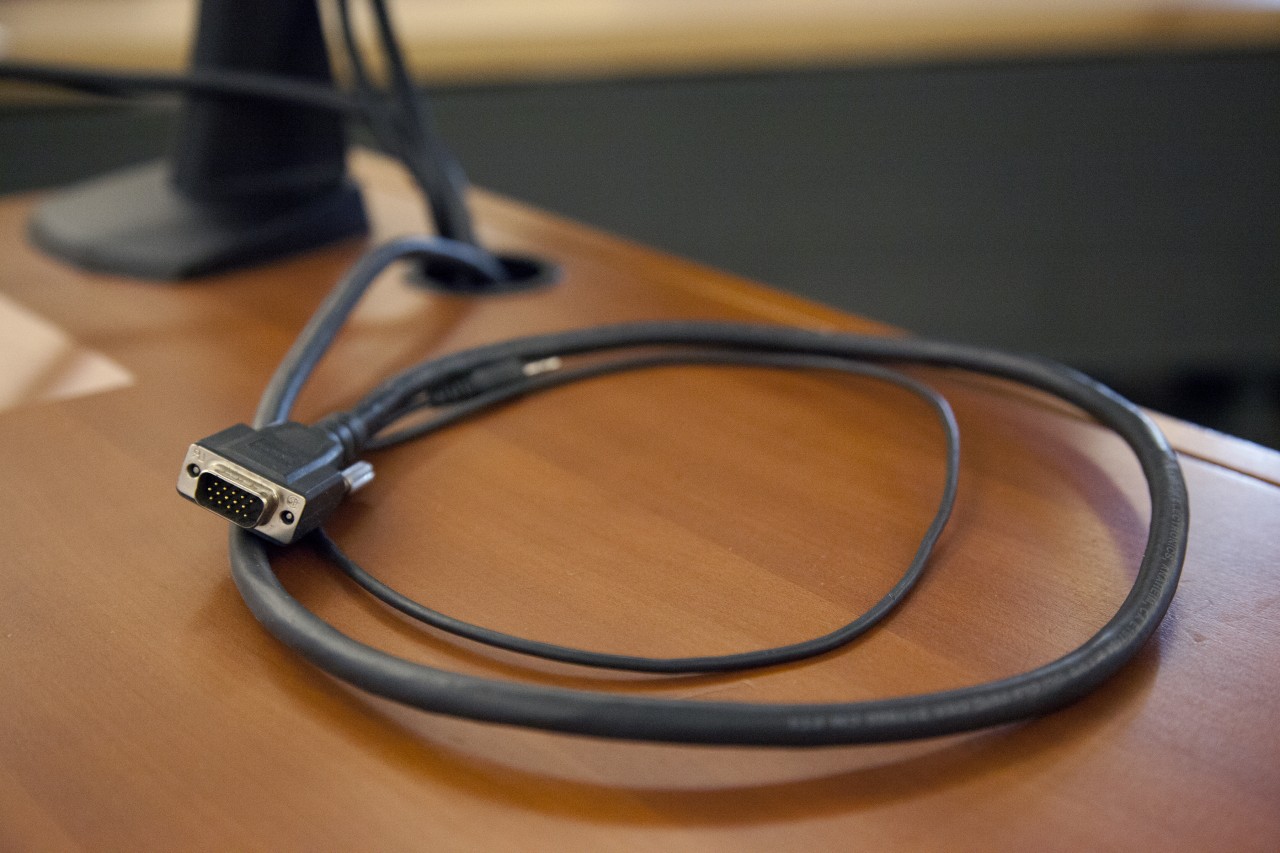
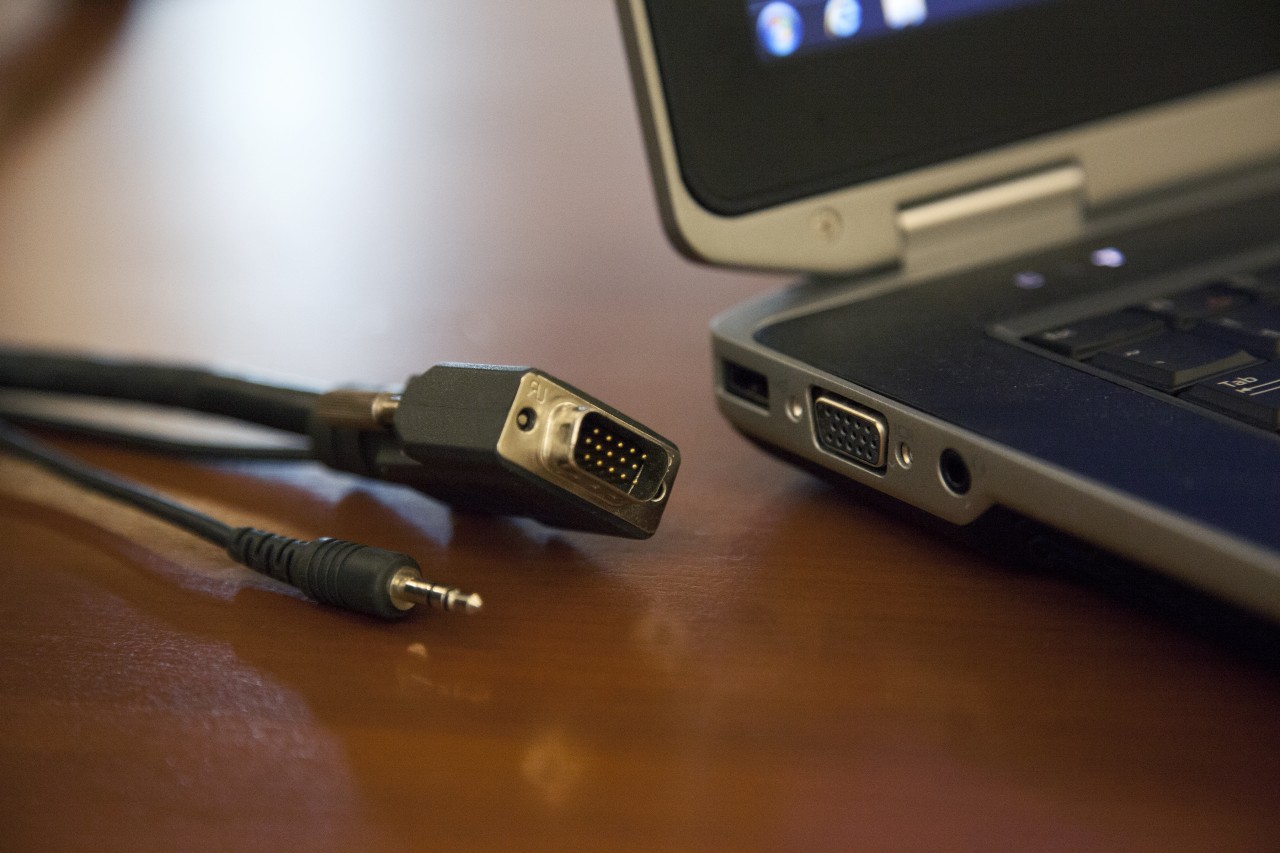
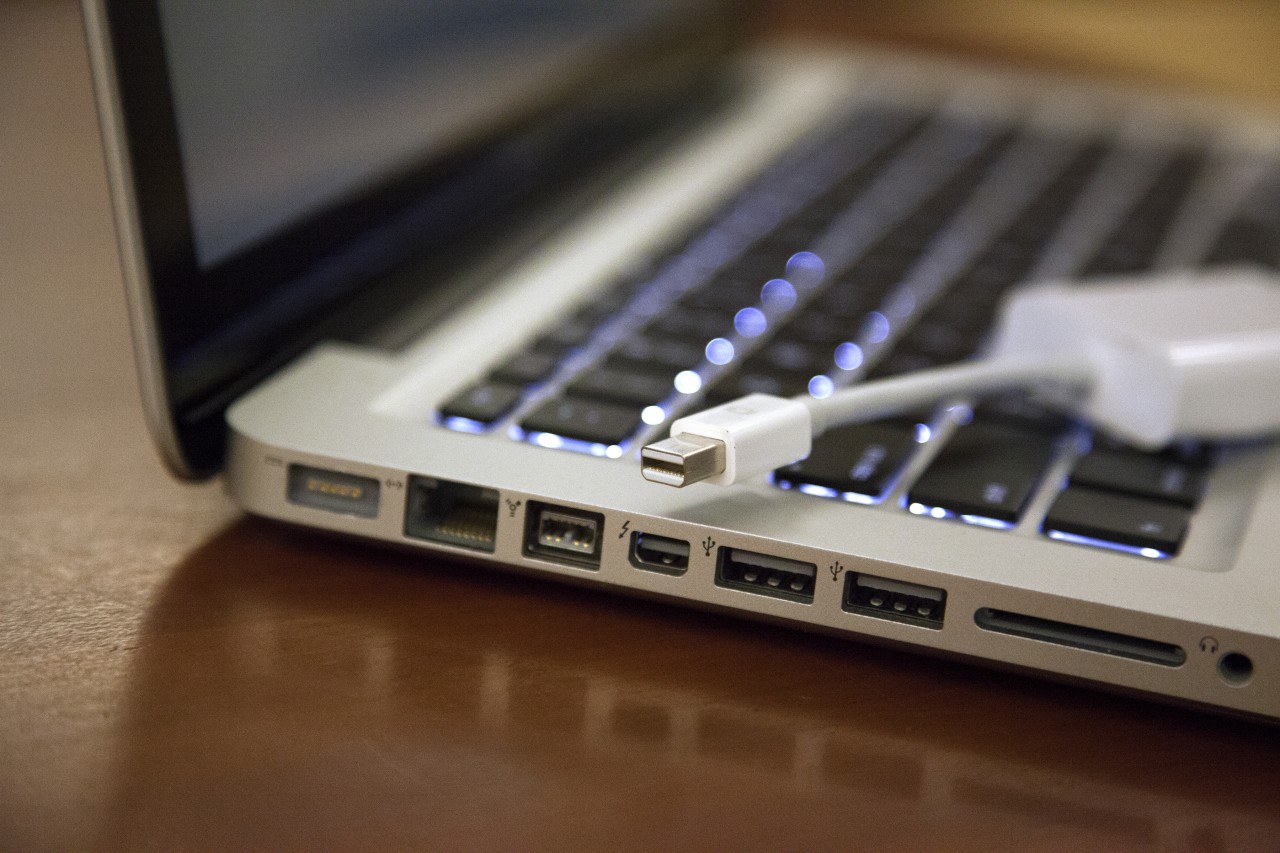
Most Mac laptops do not have a VGA port so you’ll need your Thunderbolt-to-VGA adapter (included when you purchased your Mac). Be sure to have your Mac adapter cable handy.

You may have to export your signal. On PC laptops this is typically done by holding down your Fn key and pressing the appropriate Function key (on Dell laptops this is usually F8).

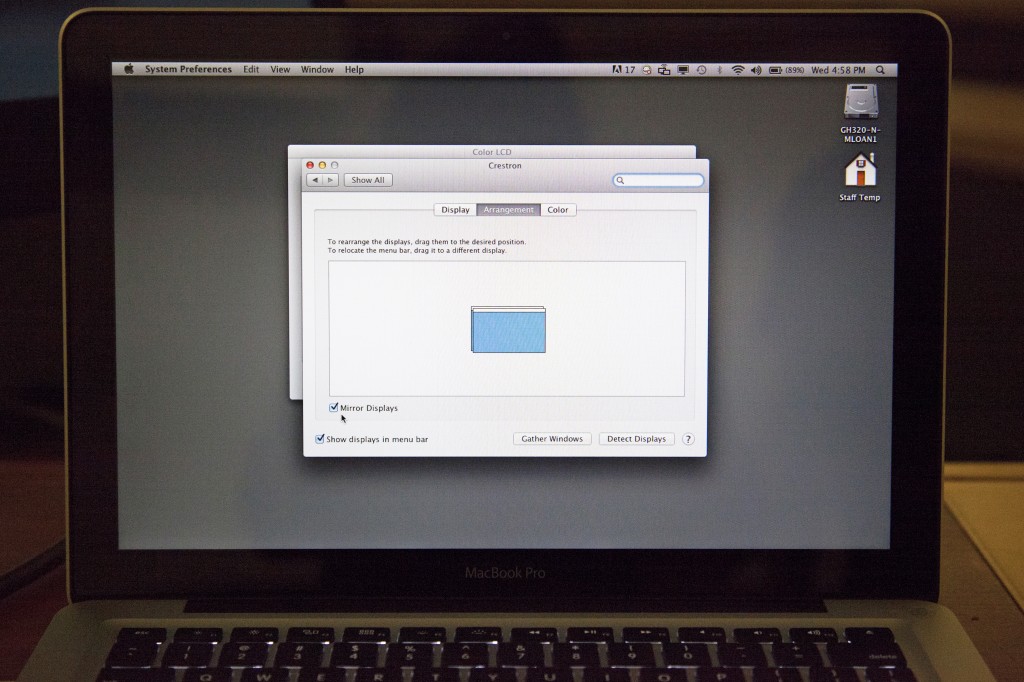
Most Mac laptops will export their signal automatically when a display cable is attached. Macs have a tendency to detect the external display connection as a screen extension; to clone or mirror the image on your laptop screen with that of the monitor and projector, you may need to go into your System Preferences, select Displays, then Arrangement and click on the box marked ‘Mirror Displays.’
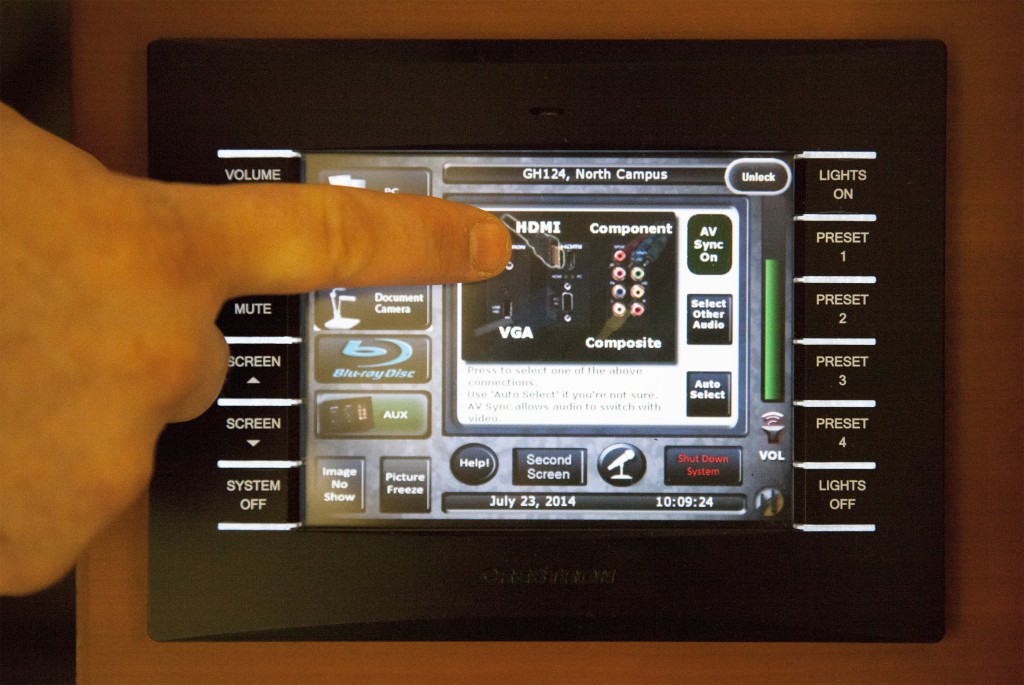
If you have an HDMI connection on your laptop, you can use an HDMI cable to output your signal to the projector using the auxilliary panel on the podium. This signal is typically easier, better quality, and more reliable than the VGA connection, and it will transmit both audio and video through one cable.
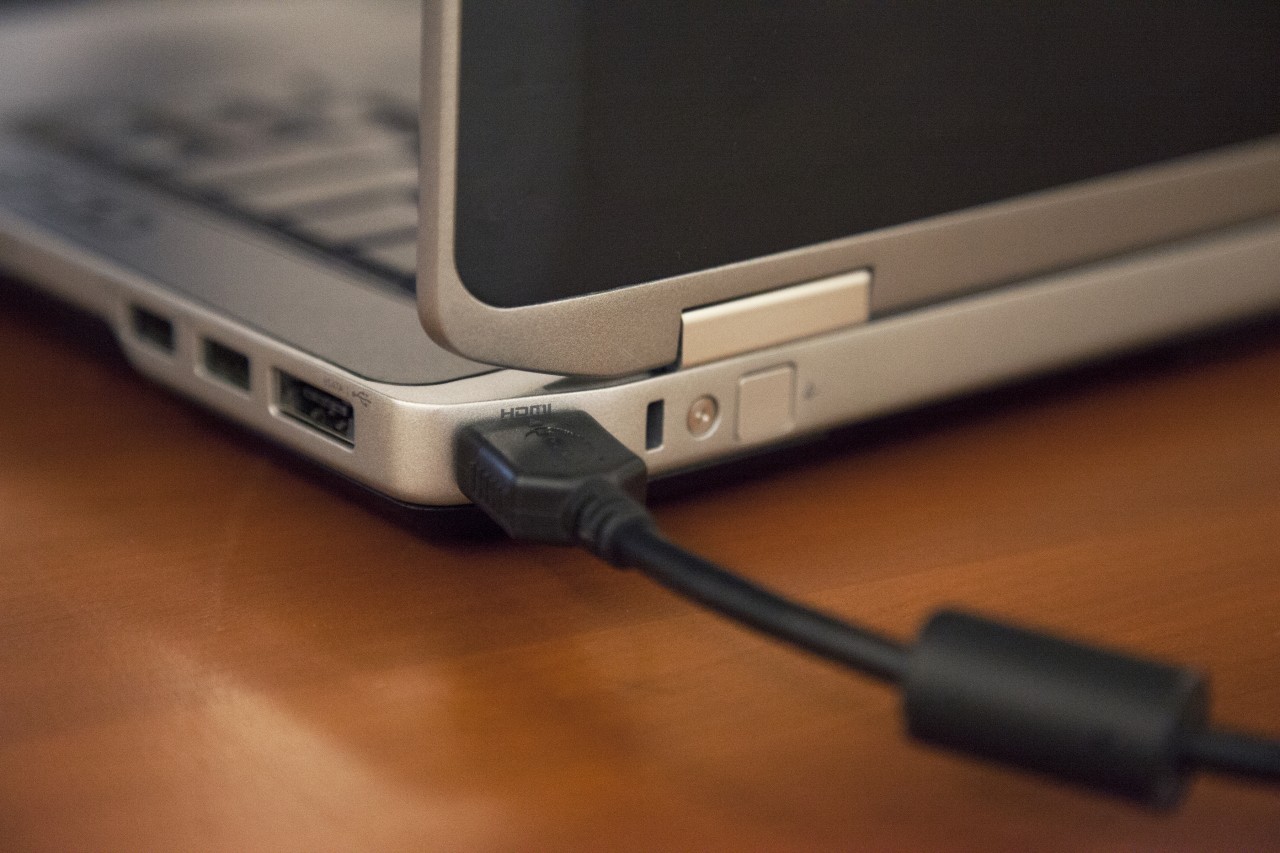
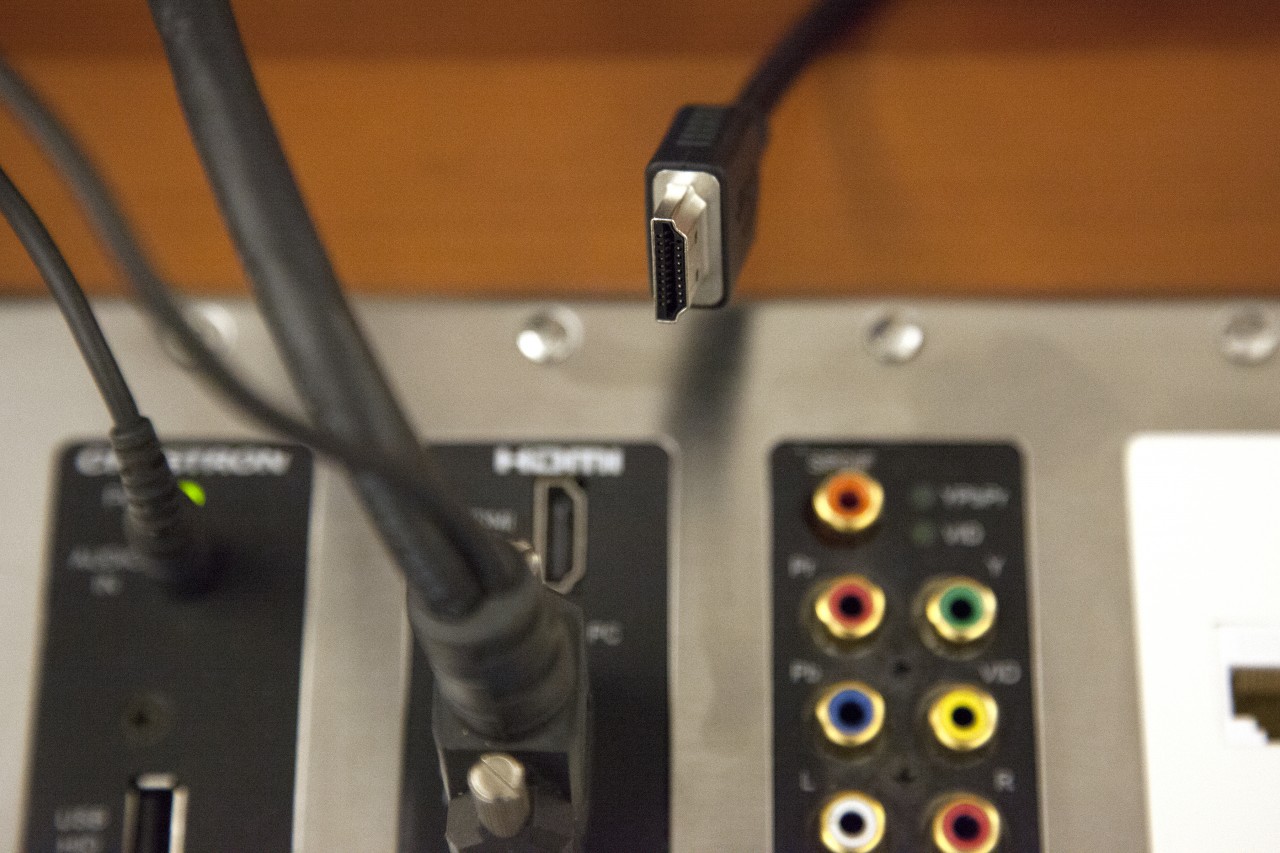

To use the HDMI connection, select the ‘AUX’ from the touch panel menu, and select HDMI on the page that follows (you will see the other options fade when you select it).
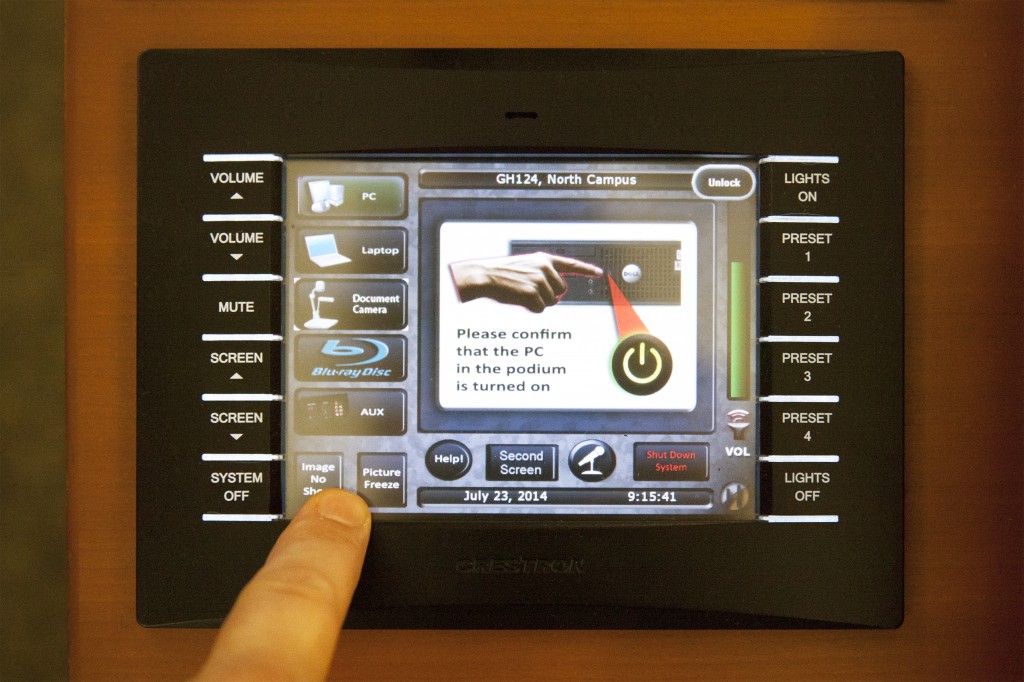
Use the ‘Image No Show‘ feature to blank the video signal to the screen. This is useful is you wish to remove attention in class from the board to you. Use the ‘Picture Freeze’ function to hold an image on screen; the projector will display freeze whatever image it’s projecting, even video (though the video will continue to play on the player). This is useful if you wish to leave some work on screen for students while you use the computer on the monitor (to check email, to prep presentation, etc.), or if you wish to skip slides but don’t wish to show the slides in-between; select Image Freeze, transition through the slides, then release Picture Freeze.
There are connections for a document camera beneath the removable document camera plate in the podium. You can sign out a document camera from the Humber Support Centre in NX210 for your class and connect it here. Select ‘Document Camera’ from the Touch Panel main menu.
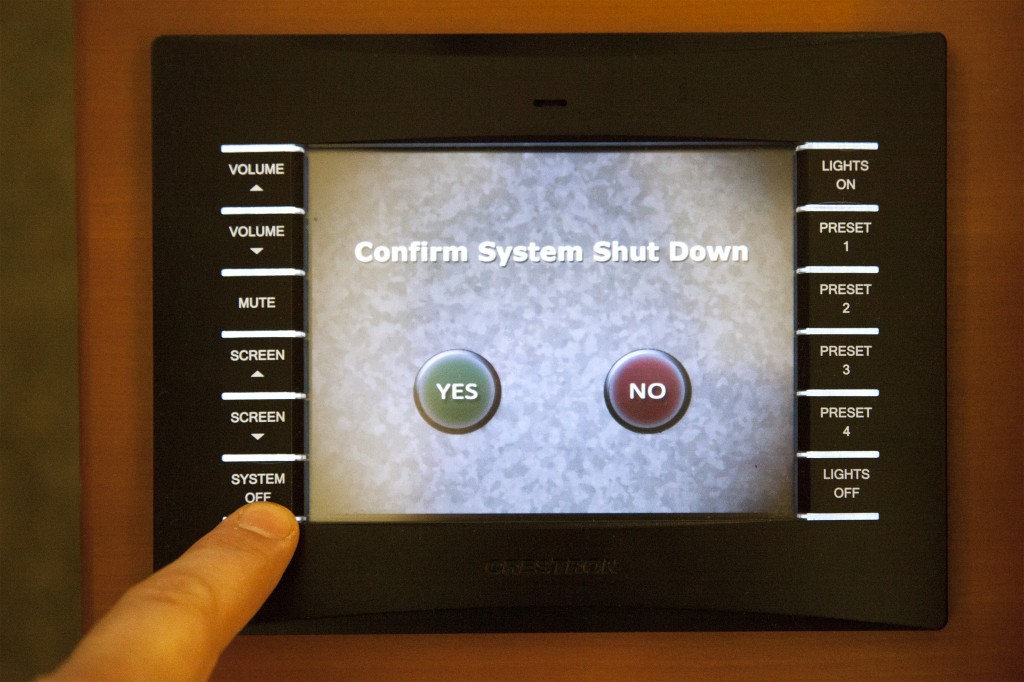
Be sure to log off the computer before you shut down the A/V system as the image on the monitor will go blank when the A/V system is shut down.
Please be sure to shut down the A/V system when you’re finished your class (especially if there is no class following yours).