
Speedotron Basic Setup
Step 1
Before doing anything with the equipment, make sure both the POWER switch and the MODEL LIGHT switch are in the OFF position and that the RESET button (circuit breaker) is fully depressed into its socket.
Step 2
Setup your light stands using sand bags to stabilize them. Add your light heads and accessories (soft boxes, umbrellas, etc).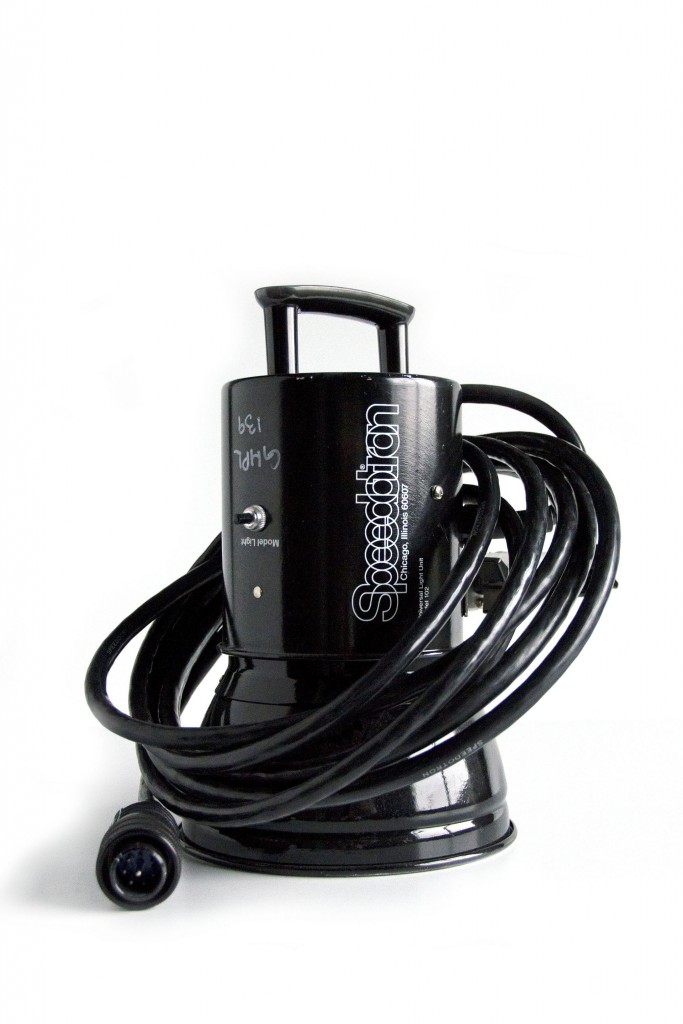
Step 3
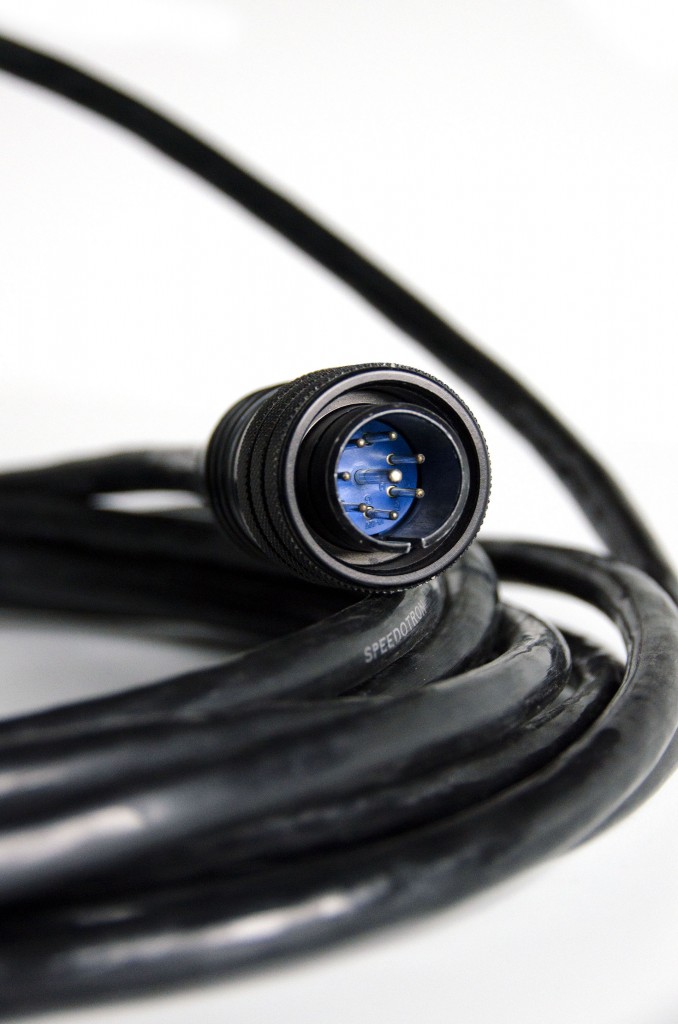
Plug light cables into the power pack. (To insert, align the light unit plug with the power supply outlet and apply even pressure while pushing into the socket. Make sure that all light unit cables are firmly connected and that you hear or feel the quick release ring click into place). IMPORTANT: An improper connection between the light cords and the power unit can result in an electrical arc-over, which can damage equipment and/or electrocute you.
Step 4
The sockets you plug your lighting cables into will depend upon the lighting ratio you would like to have in your shots. Use the isolate/combine switches to help control these ratios.
Step 5
Make sure cables are neatly arranged away from pathways, or tape them to the floor to avoid accidentally disconnecting them from the power supply (gaffer tape is a handy thing to have in your personal tool kit).
Step 6
Plug your Pocket Wizard (receiver) into the flash unit using a sync cable. 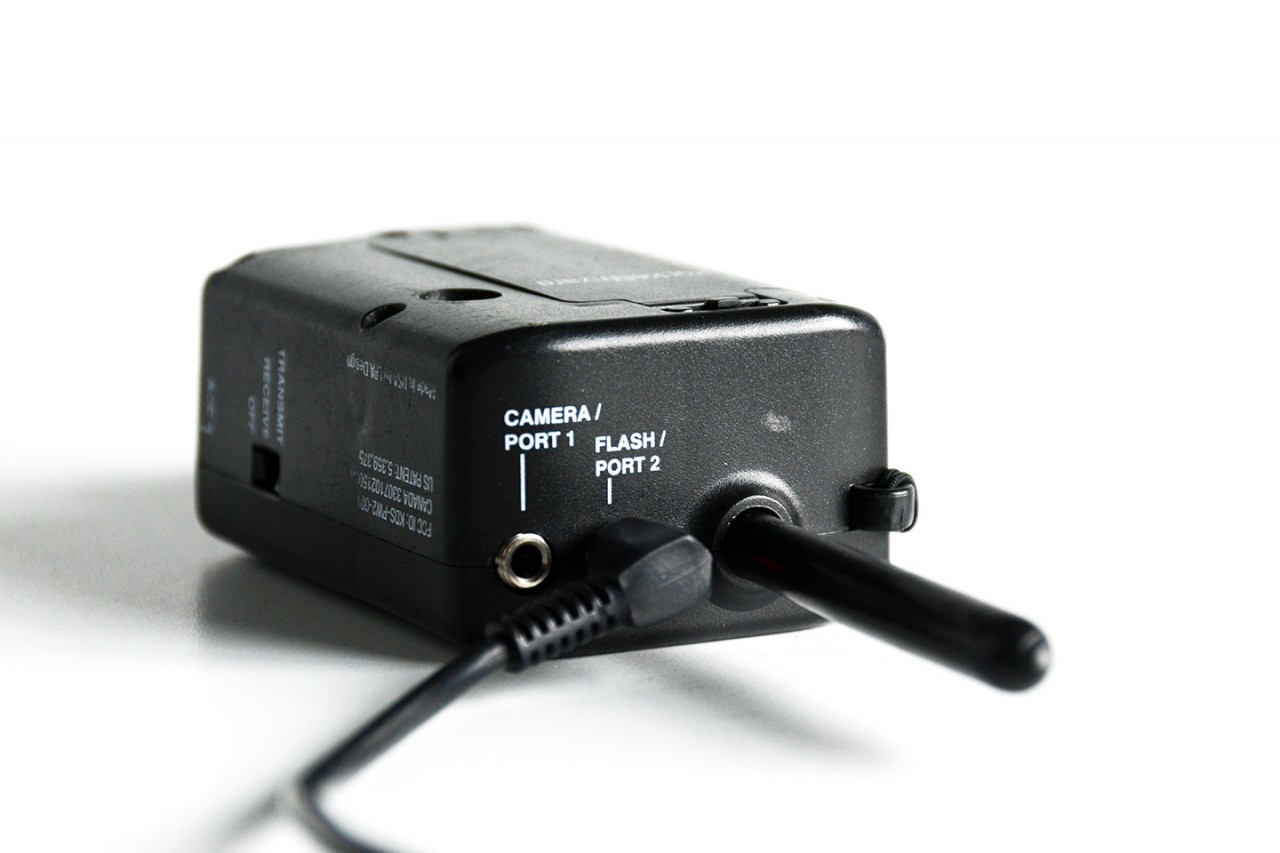
Step 7
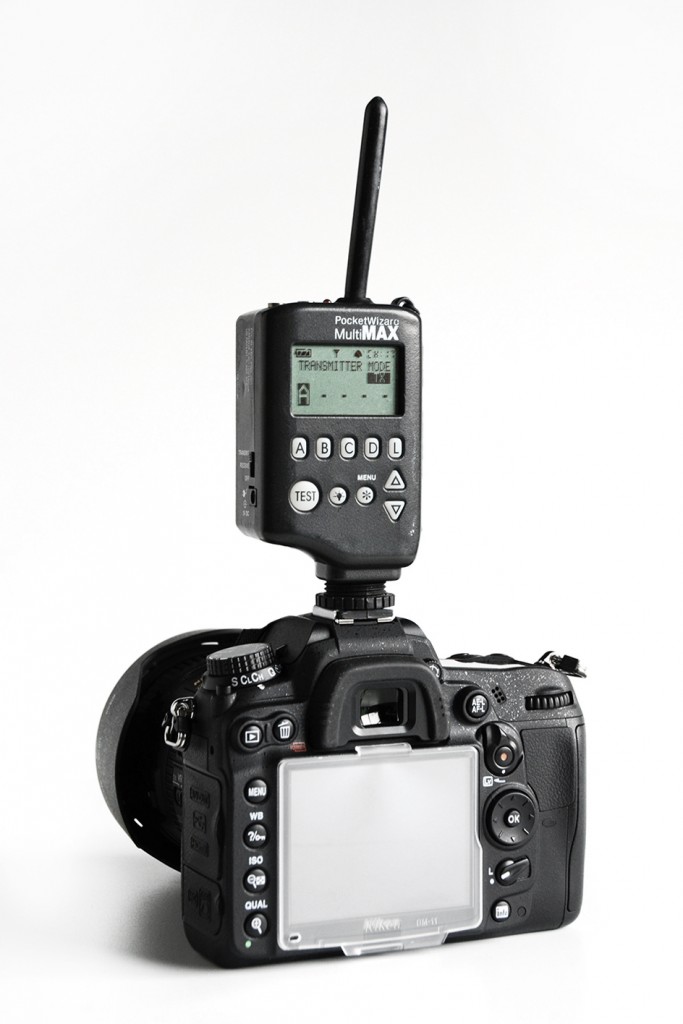
Setup your camera with a second Pocket Wizard (transceiver). (Make sure your channels and shooting zones match between the receiver and transceiver).
Step 8
Plug the power cable into the Speedotron power pack first (make sure the cable is properly connected), then plug the power cable into the wall. IMPORTANT: Never plug the cord into the wall before plugging it into the unit.
Step 9
Once the light units are properly assembled and installed, the power cord is installed and the sync extension is connected, turn the Power switch on.
Step 10
Let the unit warm up, waiting for it to reach full charge. While waiting, turn on your camera and Pocket Wizards. IMPORTANT: Don’t change any settings (like isolate/combine) or attempt to test or fire the flash while the unit is charging.
Step 11
When the unit it warmed up, you can hit PUSH TO FLASH to test that everything is in working order.
Step 12
Never remove any cables from the wall or power pack when the power is ON. Before making any changes to your cables, turn the power and model light switches OFF, and discharge the unit by pressing PUSH TO FLASH.
Start shooting! Have fun and be safe.