
How to use Team Share
Editing your Account and Personal Profile:
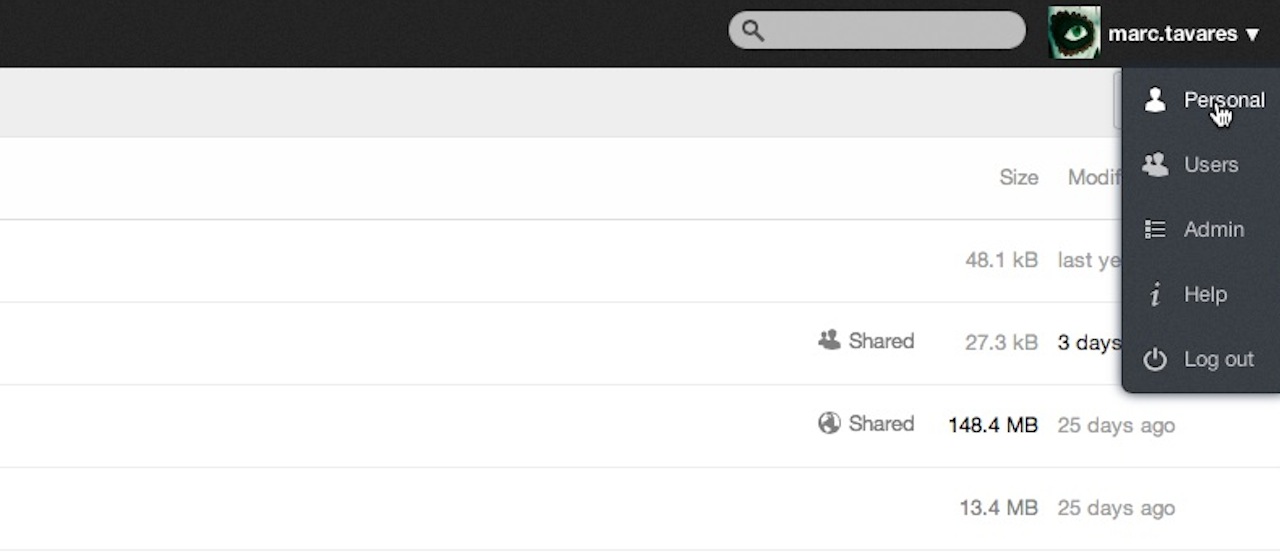
Once you are logged in to Team Share, it is important to assign your Guelph-Humber email address to your profile and change your password to something that is secure, yet easy to remember. To accomplish this, select Personal from the drop down under your username.
Upload a File:
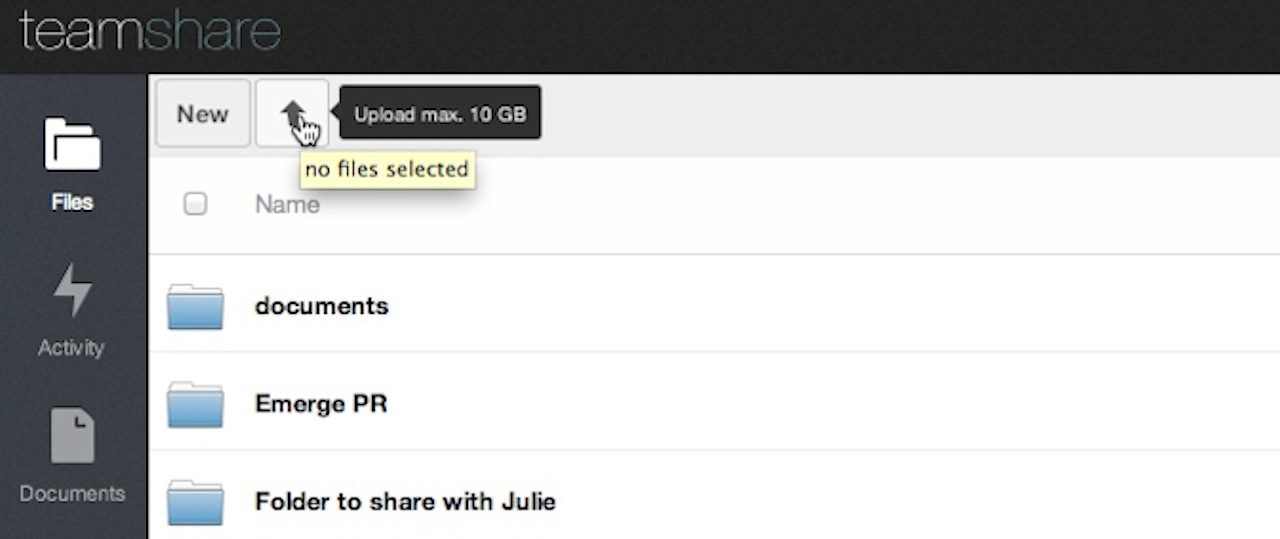
To upload a file, select the arrow icon as seen below. You can select multiple files by holding “Shift” in Windows or “Command “ on a Mac.
The file you have uploaded will display in the list of files on your home page. If you uploaded the file into an existing folder, it will appear in that folder.
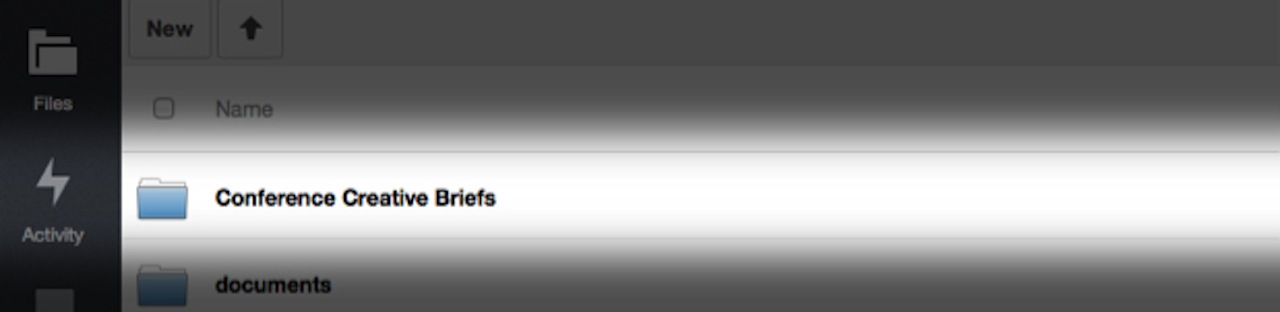
Creating a new Folder:
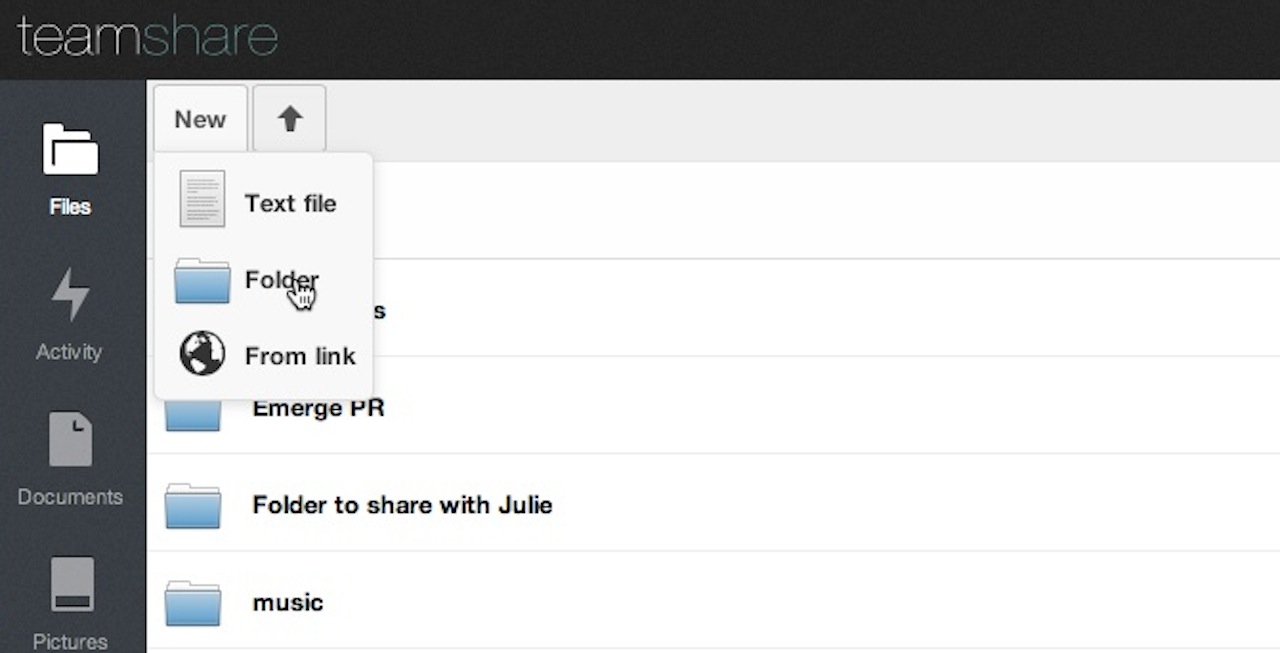
To create a new folder, select New as seen in the image below.
The folder you created will display on your home page. If you created the folder within another folder, it will appear there. To move your new file into your new folder, just drag and drop. It may take a few seconds to load.
Sharing a File or Folder:
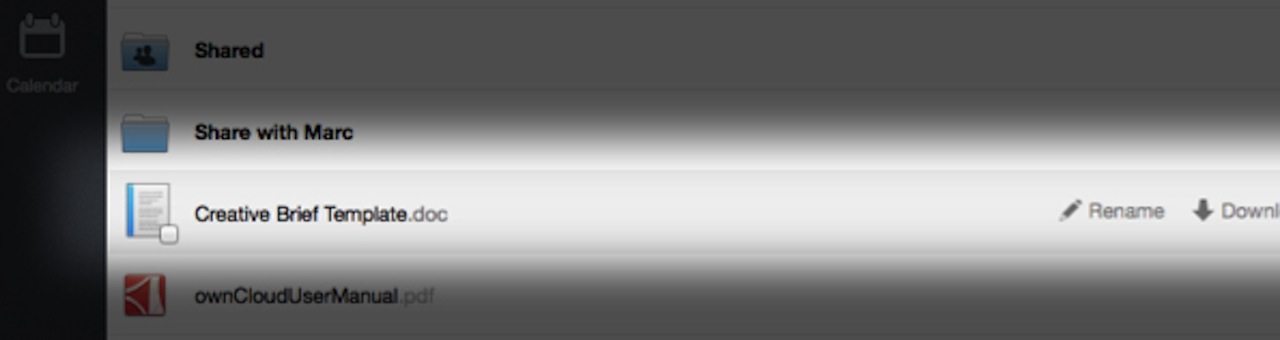
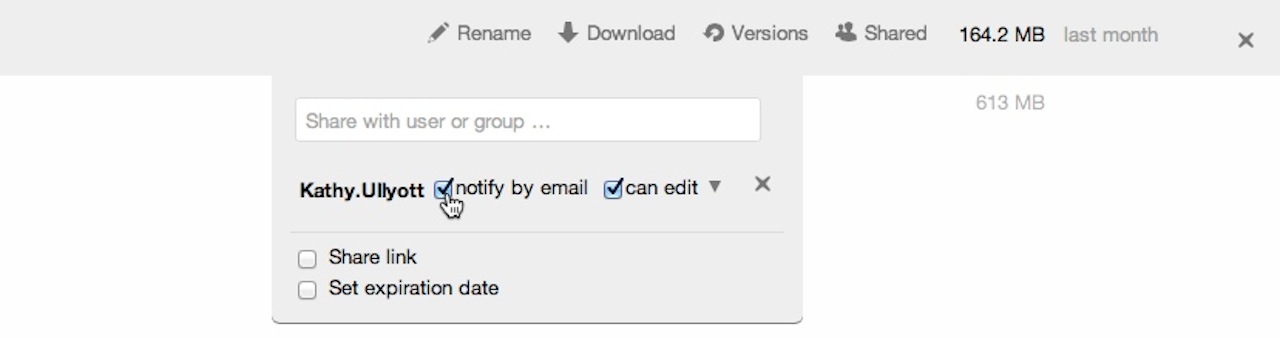
To share a file or folder with another registered user or external email address, hover over the file or folder you would like to share and select Share. You can choose to share with specific individual users or pre-defined groups by typing in the username or group name.

It’s always a good idea to select Notify by Email to ensure the user is notified of the shared file. After you have selected it, click outside the grey box to hide the sharing settings.
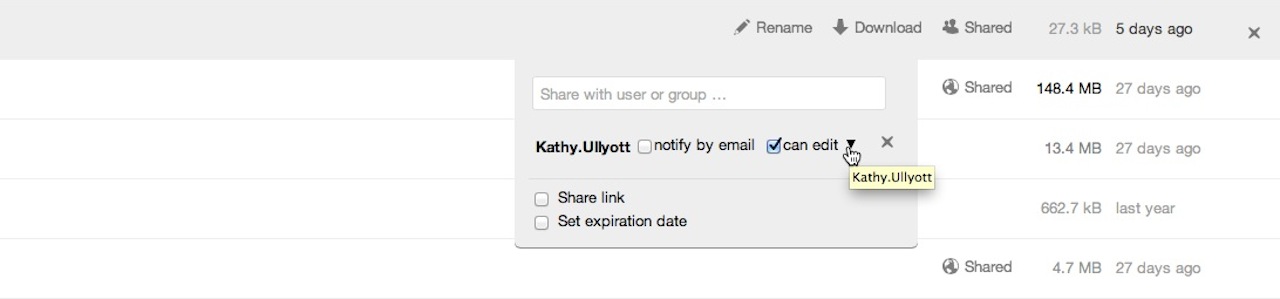
Editing Sharing Permissions:
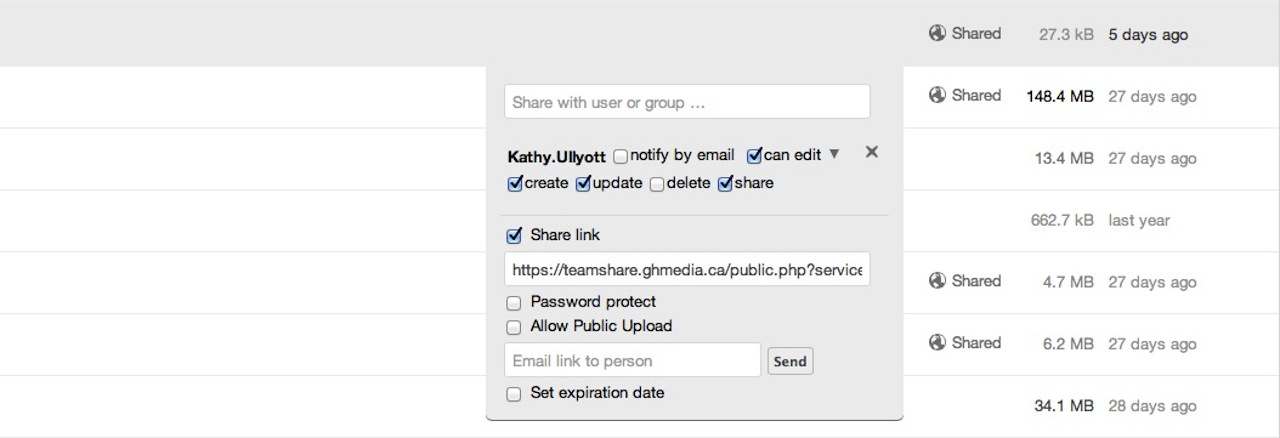
Once you have selected the users you would like to share the file or folder with, you can easily edit the permissions you grant those users (if any) by selecting Can Edit.
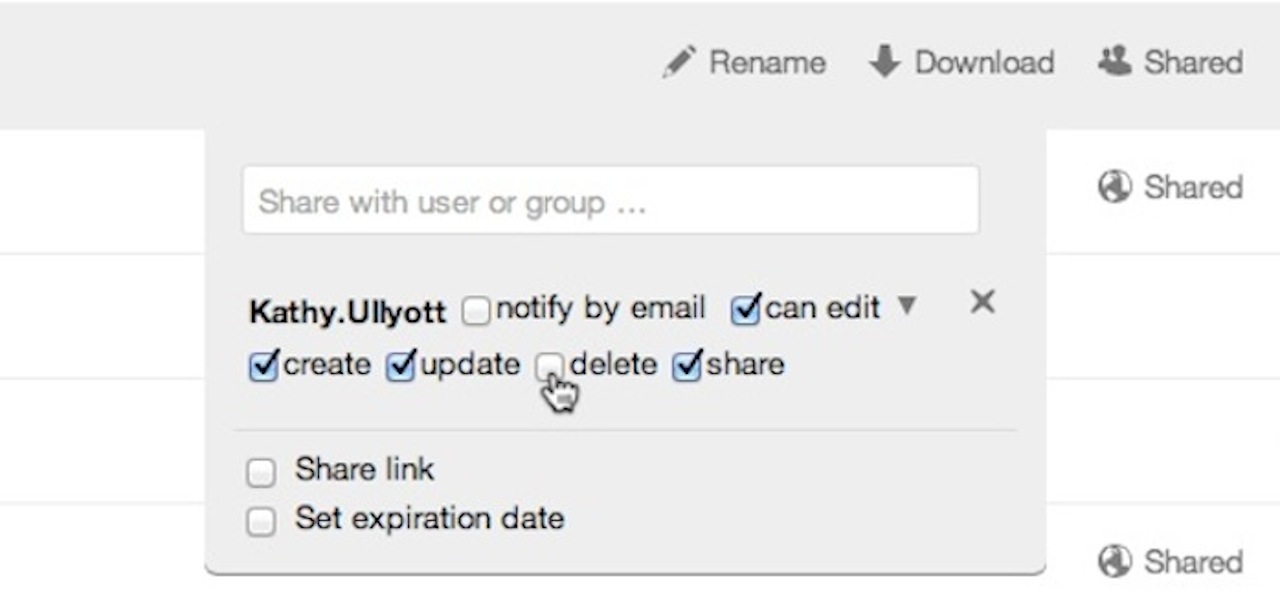
Selecting the drop down arrow next to Can Edit reveals the various permissions you can modify.
You can also share a public link with non-Team Share users by selecting Share Link. Additionally you can share the file or folder with any email address. Expiration date and password protect options are available. Selecting Public Upload allows the person you are sharing with to contribute files to that folder without being a registered Team Share user. Once you hit send, the email has sent. Sometimes the box still displays the status “sending”, but rest assured, your email was sent. Click outside the grey area to hide the sharing settings when you’re done.
Deleting a File:
To delete a file, simply hover over the row with your file and click the x.

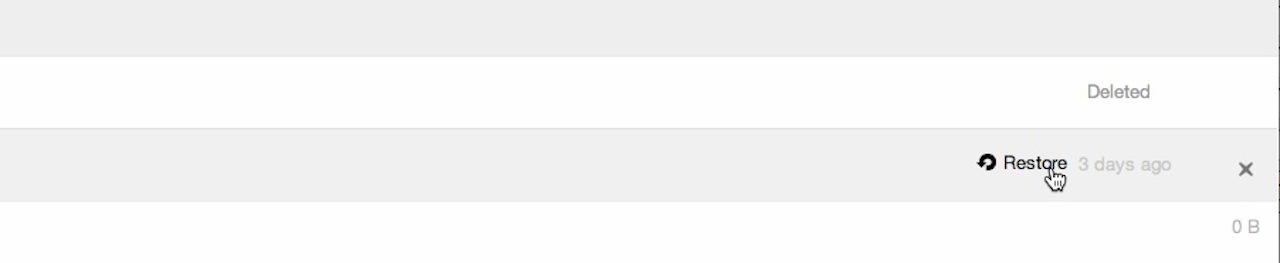
Restoring a File:
To restore a file that has been deleted, select the Deleted Files option at the top of the screen. Once in your Deleted Files folder, select Restore File for the deleted file you would like to restore.
Important Notes:
Team Share accepts various types of files for sharing even though you might not be able to view all file types through your without downloading them first. Video files can be shared, downloaded, and viewed on your computer, but in-browser playback works best when using Firefox or Chrome.