Photogenic Basic Setup
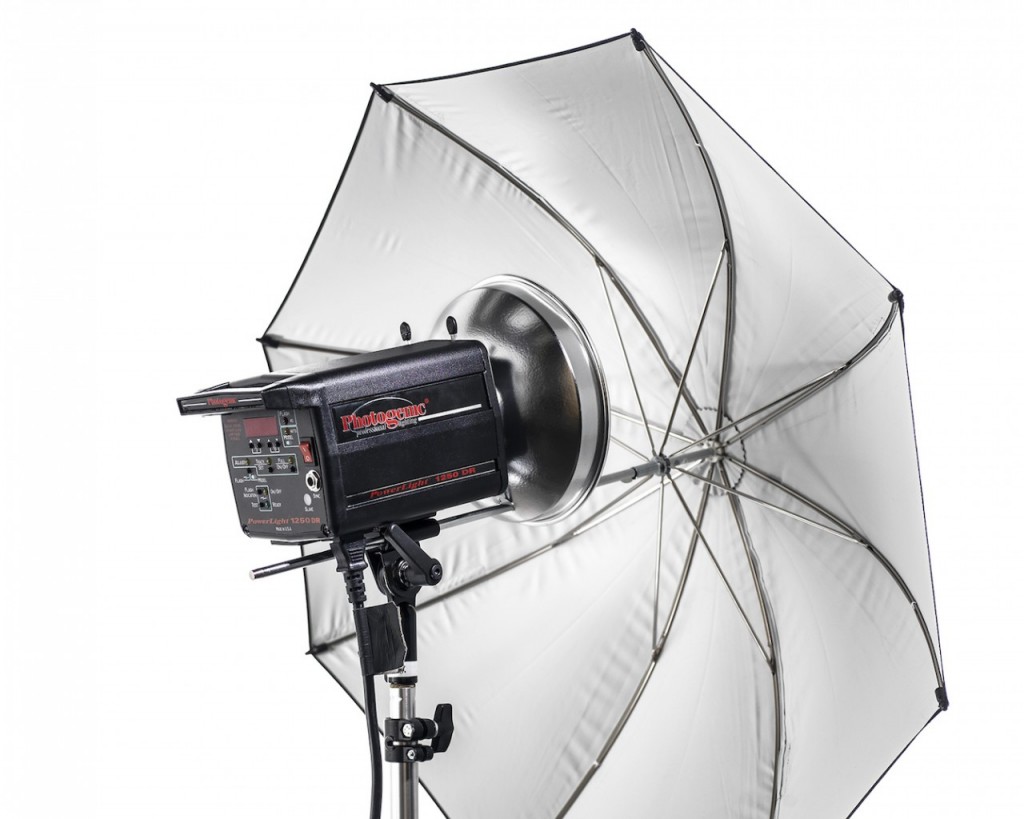
The Photogenic PL 1250 Monolight is a self-contained light unit, with a flash output range from 16 to 500W. Its compact size and lightweight make it great for shooting ‘on-location’. Multiple Monolights can be synced and used at a greater distance, which results in more flexibility and creative freedom.
Step 1
Setup your light stands using sand bags to stabilize them. Add your light heads and accessories (soft boxes, umbrellas, etc).
Step 2
Plug the power cable into the light head first (make sure the cable is properly connected), then plug the power cable into the wall. If you need an extension cord, make sure you’re using one rated for the right amperage (min. 10 Amp). IMPORTANT: Never plug the cord into the wall before plugging it into the unit.
Step 3
Plug your Pocket Wizard (receiver) into the head unit using a sync cable.
IMPORTANT: You can sync multiple heads together by putting their Pocket Wizards on the same channel.
Setup your camera with a Pocket Wizard (transceiver). (Make sure your channels and shooting zones match between the receiver and transceiver). Now you can trigger multiple Monolights through your camera.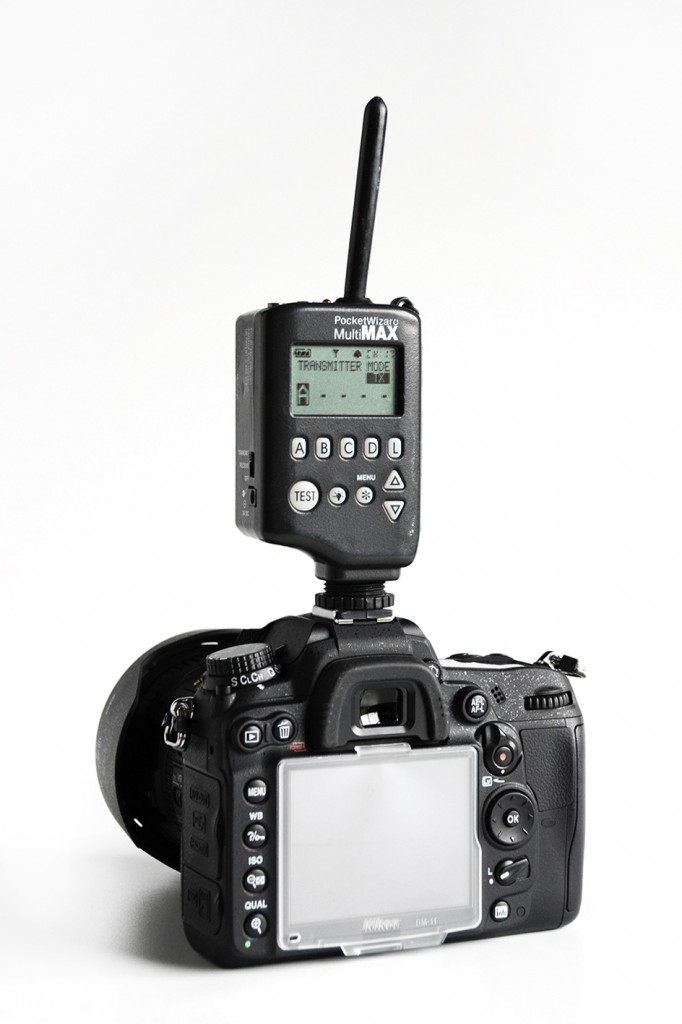
Step 4
Adjust your flash output and modeling light intensity using the ½ or 1/10 f-stops UP/DOWN arrow buttons. Switch between the FLASH and MODEL mode by pressing the ADJUST button.
The modeling light has 3 modes of operation: Manual (allows full control over the light intensity) , Track (follows the output of the Flash) and FULL ON/OFF(sets the modeling light at max power of 250 W or turns it off).
HAVE FUN SHOOTING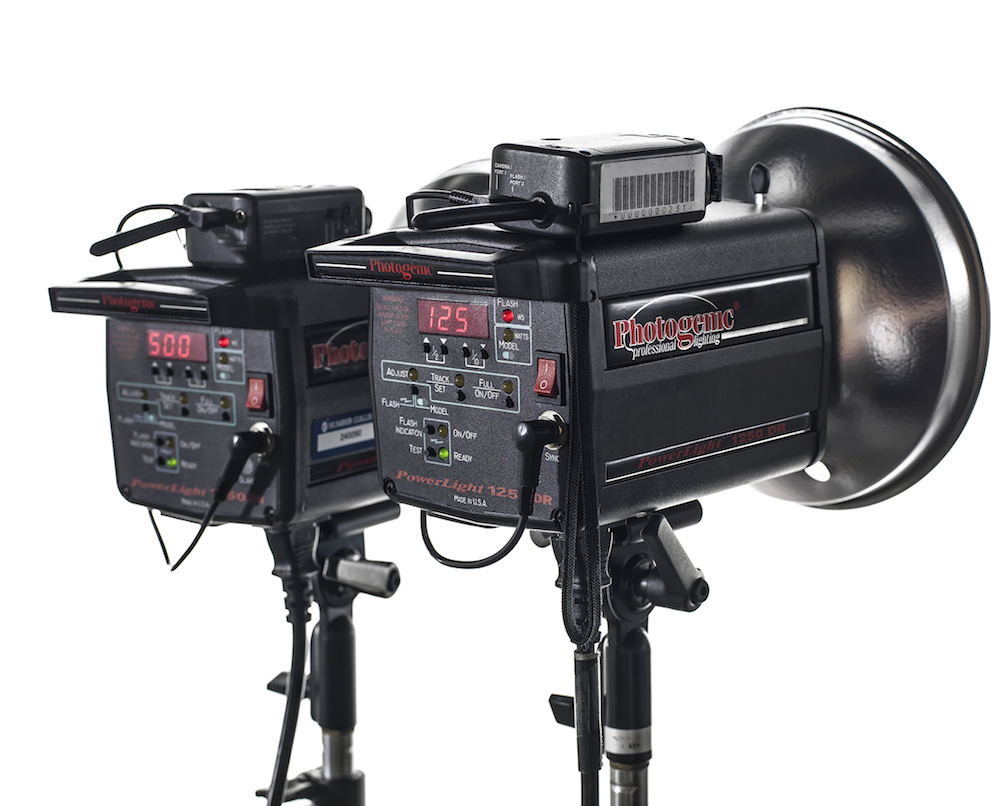
IMPORTANT:
After you’ve finished, let the lights cool down for a few minutes. Check the temperature by placing your hand close to the Flash Tube (don’t touch). If you don’t feel any heat you can put the head safely back into the case.
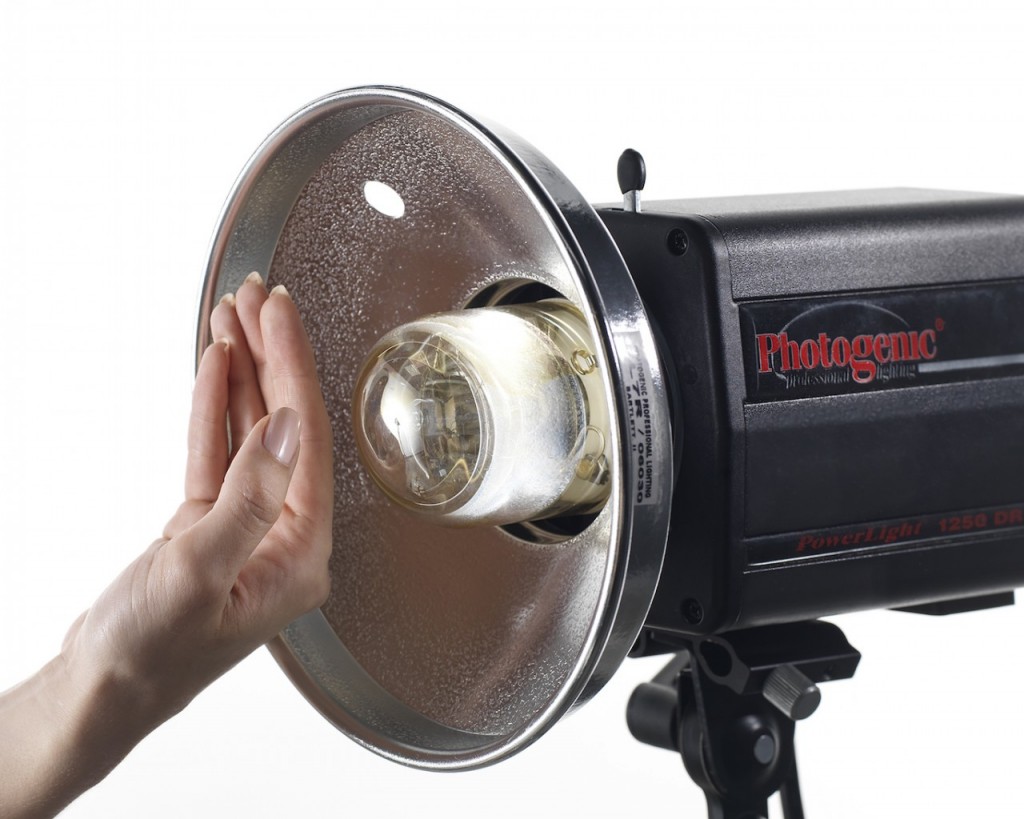
Placing a cap over a hot flash tube can cause a permanent damage to the unit. Please be cautious.